Showing posts with label general. Show all posts

Saturday, June 16, 2012

Reading Fair and End-of-Year Party

A few (OK, well maybe more than that!) photos from our last day of school. It was fun celebrating but so hard to say goodbye!

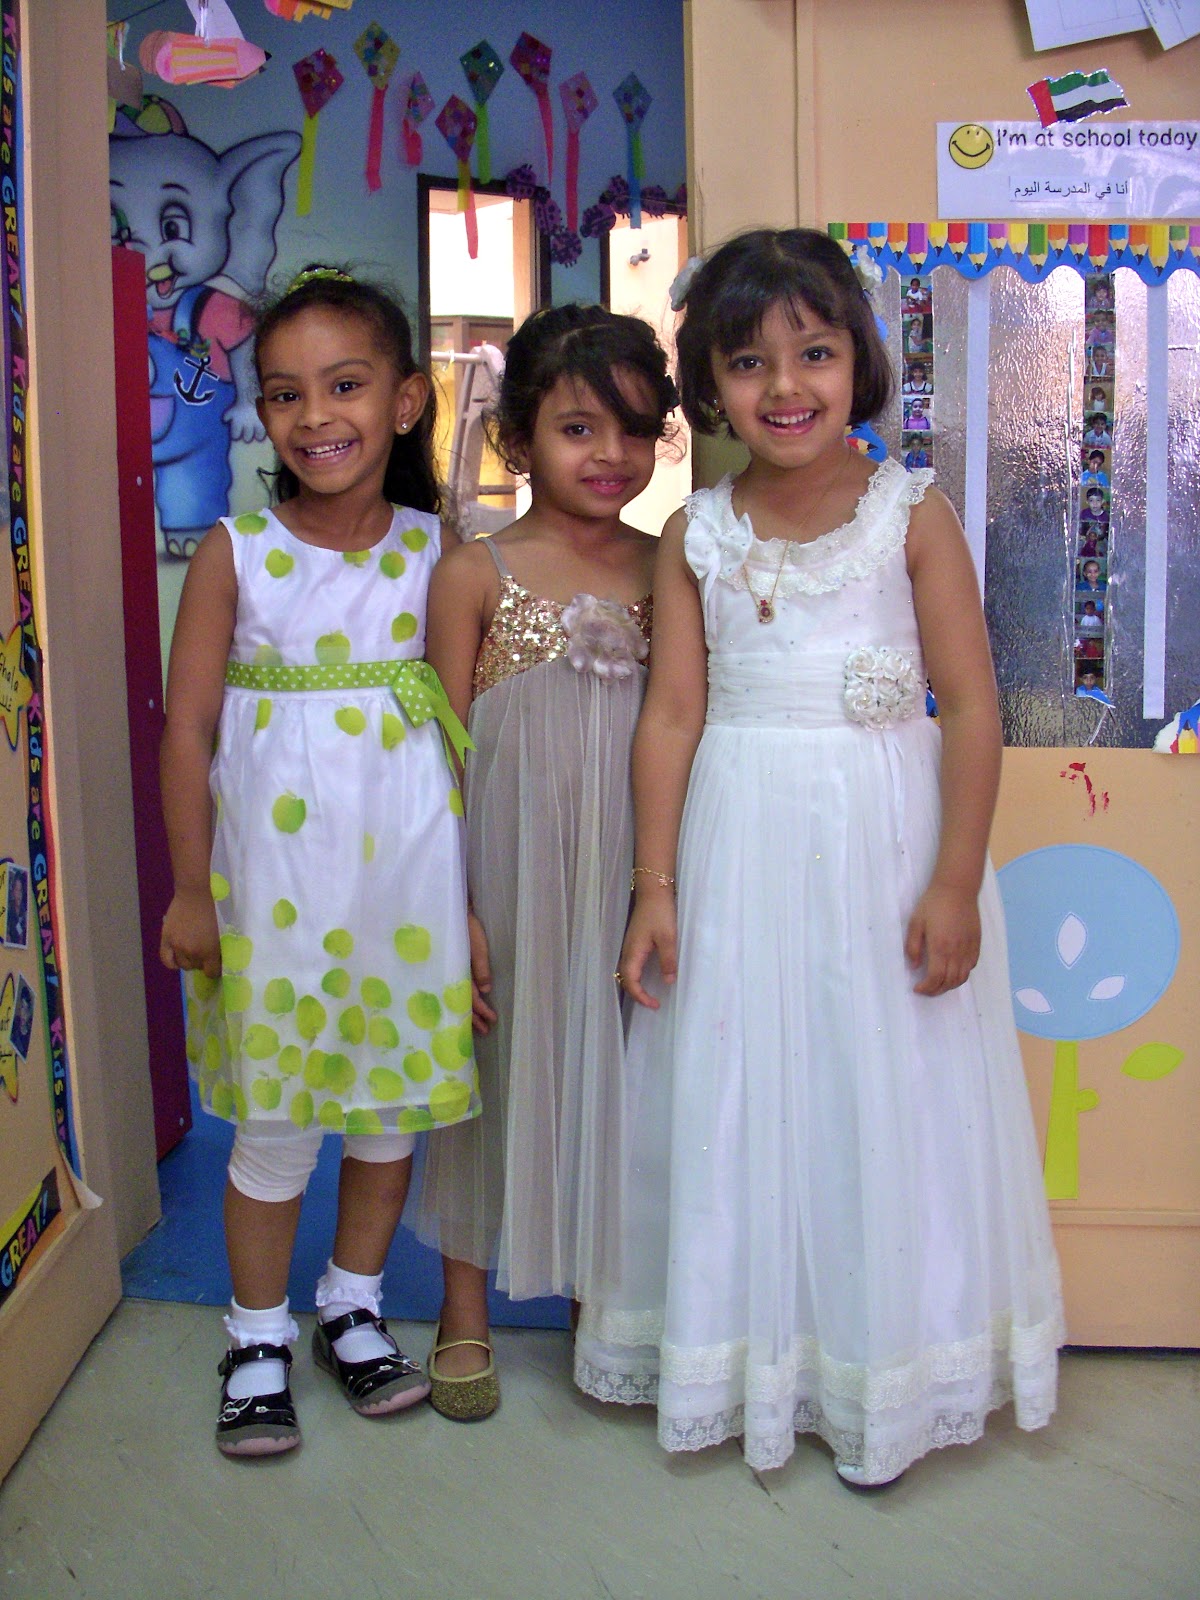
Pretty party dresses

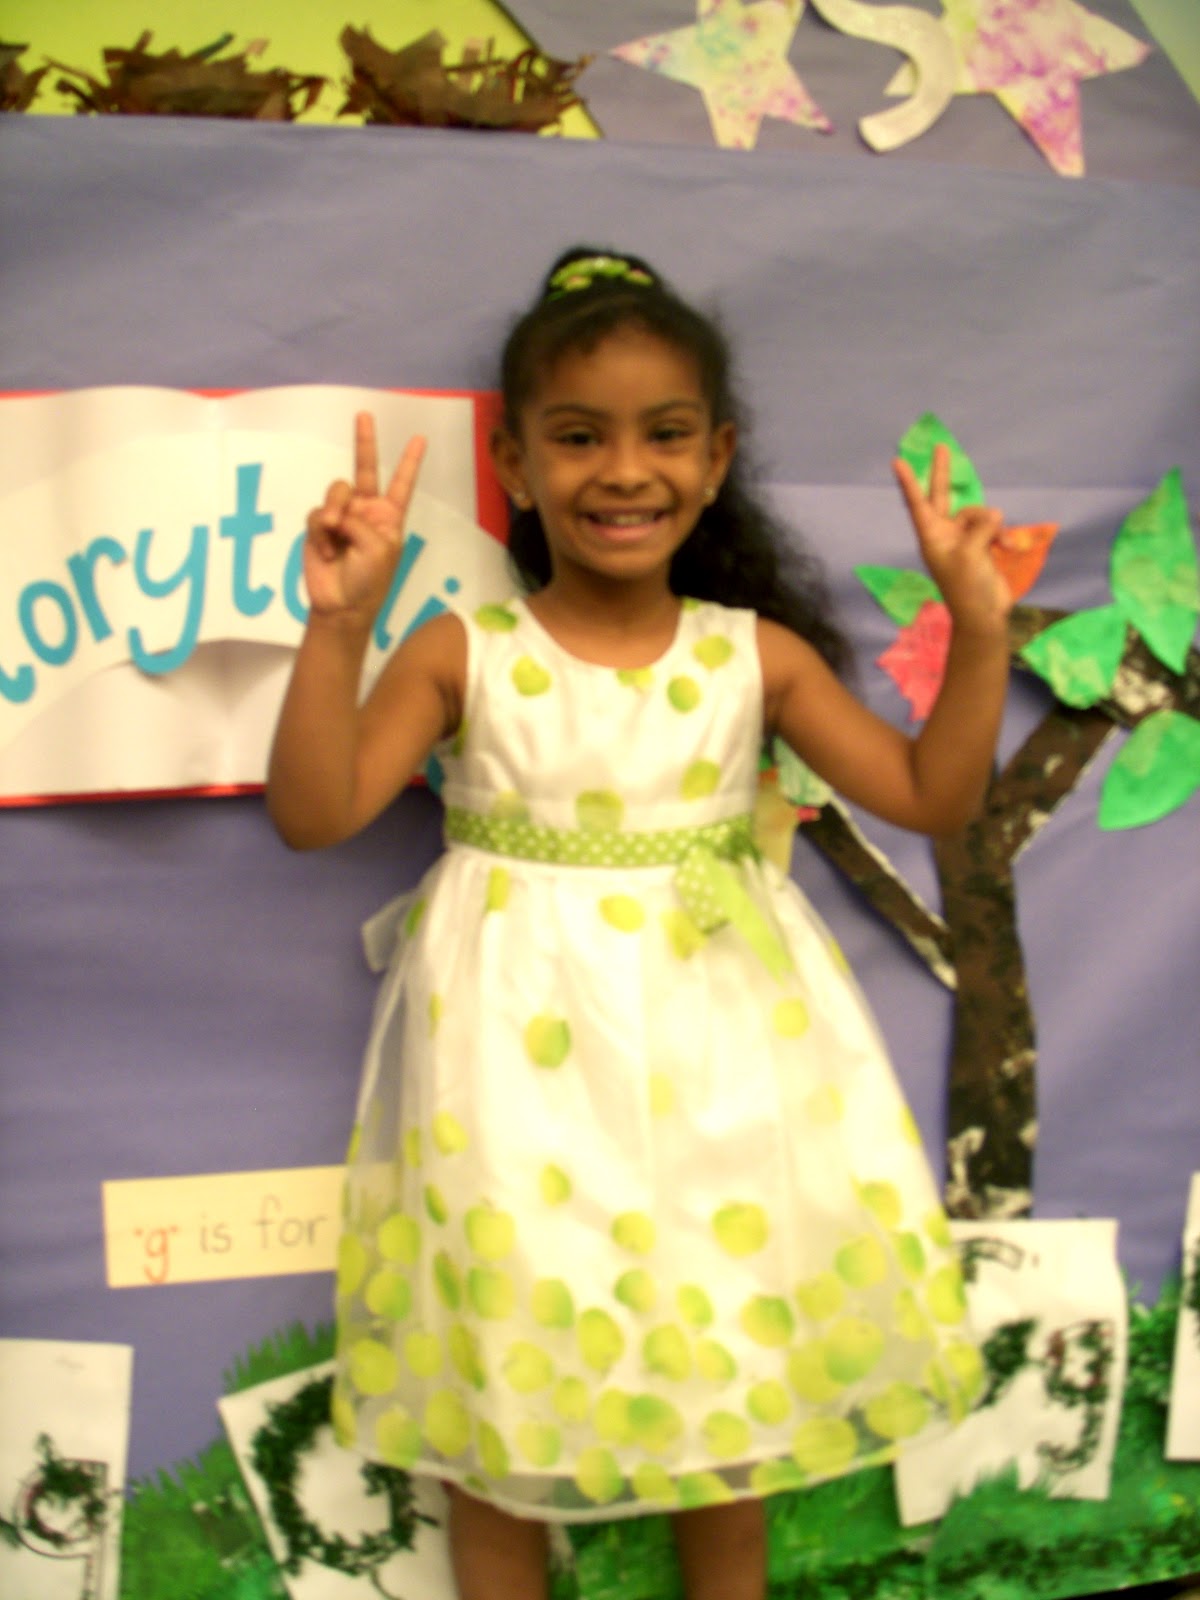
Waiting for the Reading Fair to begin. We were the "Storytelling" area. The kids helped make the entire background! After the festivities I took some individual shots of the kids posing in front of their hard work . . . 


And then they insisted on taking one of me :)


Unfortunately not everyone was in attendance, 
so a few faces are missing.
We still had a great time at our party!


I was too busy serving cake to take many pictures! 
I also let the kids take turns with my camera for a while. 
Here are a few of those shots:


I'd say they did a great job! Whenever I take photos throughout the year, I make a point of letting the children try out the camera, too (anyone who wants a turn can have one), so I guess you could still consider this "Review and Assessment" ;)


And a quick note . . . Families are welcome to keep in touch. Email me at emy.krauspe (at) gmail.com. I'd love to hear how everyone is doing! All the best, and have a great summer -- Mrs. Emy

Friday, June 8, 2012

Class Schedule

A fantastic organizational tool that we've utilized all year has been our picture schedule. It hangs on the far left side of our whiteboard at the front of the room. I typed out the word for each subject/activity alongside a corresponding image (using a mixture of clipart, Boardmaker icons, and actual classroom photos, based on what I thought would resonate), then cut them into strips. I laminated each one and attached a magnet to the back. 


Sorry, I know these photos aren't the best quality!

At the start of the year, the pictures helped me explain what we were doing and assisted with transitions. For example, say I was teaching on my own and it was time for snack. Attempting to gather up 23 little ones that have no idea what you're saying feels like an impossible task! It was incredibly helpful to simply pull the "Canteen" strip off the board and walk around the room (while doing the Signed English motion for "eat" and showing them how to clean up). And of course, the children loved seeing themselves and their friends in some of the photos!

Later in the year, the schedule became much more about time and the sequence of events as the children's awareness of these grew. If one of the kids asked me if it was time to go home, I could say, "Soon --  here is Bus Time, but first we have Music and Wrap Up. So first we will go to Abla Geehan, then I will read you a story, and after that it will be time for the bus." I'd show them 1, 2, and 3 with my fingers as I explained. It's amazing to see children understand all of that, especially given what things were like in September! 

I could also connect the picture schedule with our nearby wall clock. Say a student wanted to go out to play, but we had 10 more minutes of Numeracy centers -- I could reference the schedule, point to the clock, and explain that when the big hand reached the 6, it'd be time to go outside. Seemingly without fail, the asker would nod his or her head and get back on task.

Finally, I personally loved our picture schedule for my own organizational sanity! Prepping it first thing each morning allowed me to think through the day ahead, and it was nice to have an at-a-glance way to see where we were/needed to be during the day.

Tuesday, May 29, 2012

Saturday, May 19, 2012

"D" is for Doodles on Doilies

Say that three times fast ;)


Fun vocabulary, simple materials, and a sweet display make this project a keeper!

Tuesday, May 15, 2012

Thought of the Day

"We find delight in the beauty and happiness of children that makes the heart too big for the body."  
(Ralph Waldo Emerson)

Monday, April 16, 2012

Everyday Discoveries: Words and Letters

The children are becoming more aware of words and letters in their surroundings with each passing day . . .


It's such a privilege to witness and guide them in their discoveries. Their growth and capacity for learning never cease to amaze.

(Can you tell it was Purple Day when these photos were taken? :) )

Sunday, April 8, 2012

Our New Light Box

Ever since seeing DIY light boxes pop up on various teacher blogs, we've wanted one for our classroom. Over spring break, Mrs. Emy finally managed to make one. Here's how she did it.


You will need:

-a large, low plastic tub
-mylar (or similar material) to line the tub
-freezer or baking paper 
-double-stick tape, glue, or another adhesive
-scissors
-battery-operated lights, plus batteries to go in them

Purchasing information: The plastic tub here is from IKEA. I found a large mylar-coated foam lawn mat at Daiso, though the reflective shields for car windows (available at Lulu's or Carrefour) would work, too. The battery-operated push lights are also from Daiso.

You don't need to be super precise. The main thing is to make sure there are no gaps along the bottom or sides so that the light won't escape. (I cut a large rectangle for the bottom, then cut separate panels with plenty of overlap for the sides.) Attach with double-stick tape as you go.

Here's what my tub looks like fully-lined with the mylar. As you can see, no perfectionism present :) I tucked the overhang from my side panels under the lip of the bin and used more double-stick tape to hold it in place.

Place your push lights inside the lined tub.

Cut a piece of baking or freezer paper to cover the top of your tub. This will help mute and disperse the light. Again, it needn't be precise.

Push your lamps on when you're ready to use the light box. Obviously, you'll need to move the paper for this step :) Place it back on, secure the lid, and you're almost done!

This, of course, is optional, but salt writing is a really fun way to explore the light box. Since it's also the first activity I wanted to try with the kids, I decided to test it out at home.

I brought the completed light box to school today as a sort of "Welcome Back" gift for the children. I'm happy to report that they loved it!

I mean, look at that smile!

Trails in the salt

Someone discovered the colored plexiglass viewers I'd placed in our new "Science Lab" role play corner, adding a whole new element of creative play.


I will never grow tired of little hands at work. 

This was an easy and inexpensive enough project that we're thinking of making a few more boxes. It would also be a great item to have at home to encourage creative, open-ended play.

--

PARENT CORNER

Why salt writing?

Salt writing is a great sensory activity for young children. Pre-schoolers and toddlers especially learn through the use of their five senses, and salt-writing on the light box stimulates little eyes, hands, and minds. Using fingers to draw helps prepare hands for writing and allows children to practice making letters and marks in a pressure-free way. Writing with a finger is generally less frustrating to a child that may not yet be comfortable holding a crayon, pencil, or other writing utensil.

If you're interested in learning more about sensory play, these articles are a good place to start:
"A Handful of Fun" by Amanda Morgan at NotJustCute

"Sensory Play. . ." by Emily Harmon